Process: Old Pattern to New Pattern
Old Pattern
Before we start the process to create the new hexagonal repeating pattern, we need to look at my old repeating pattern. It features a style that integrates a the two colors with white, and has the shapes of triangles and parallelograms. Looking back, their is little that is actually good about this pattern except for the proper use of colors. It was not up to my full potential, and in my opinion featured too much gray which is a dark, not friendly color. Here is the pattern:
New Pattern
After a little realization and motivation, I was able to make a new pattern that features Hexagons and triangles. Here is the process I used to make this pattern.
1. Start out with a 24x24 tile, which will be the size needed to print. Draw a hexagon of any size, the bigger the hexagon the less amount of hexagons in the end. then draw lines to make two triangles over the hexagon like so:
2. Move the Hexagon to show just the two triangles and group the triangles (Object-Group)then paint them gray using the live paint bucket tool. The live paint bucket tool is located underneath the shape builder tool. Also paint the hexagon blue. Then reconnect them on top of each other.
3. Select the Hexagon and triangles and make them into a pattern (Object-Pattern-Make). A menu should show up that looks like this:
Make sure your menu looks exactly like the one shown to the right. It will create a Ninja star-ish pattern, or it looks like the star of David.

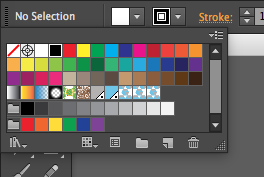
4. Click Done in the bar at the top of the canvas. Then create a large square that covers the whole canvas, and change the color to the pattern that should now be in your color panel, I have three because I had to make multiples but you should only have to make one.


No comments:
Post a Comment